
Tourniquets are constricting bands that are tied around a limb to stop uncontrollable bleeding from a serious wound. This could be from a stabbing, gunshot, or an industrial machine accident for example. Properly applying a tourniquet to a limb can be the life-saving difference when dealing with catastrophic bleeds, as they can stop or slow bleeding to give emergency services enough time to arrive.
In the best-case scenario, a tourniquet should be applied by a trained medical professional. If a tourniquet is needed, however, then time is of the essence – you may not be able to wait for emergency services. Knowing how and when to apply a tourniquet can be the difference between life and death.
When to use a tourniquet
A tourniquet should only be used as a last resort if other attempts to slow bleeding haven’t worked. The first steps to take should be elevating the limb above the heart, then applying direct pressure with the hands and trauma dressings for 15 minutes to form a clot. If this fails to control the bleeding, then a tourniquet may be required. You should also consider using a tourniquet as soon as possible if:
- The casualty is pulsating or spurting blood from the wound
- The casualty has already lost a substantial amount of blood
- The casualty’s wound is large or deep
- The casualty has multiple wounds
- The casualty has lost consciousness
When not to use a tourniquet
Tourniquets should only be used on limb injuries and never on torso or head injuries. To slow bleeding from a head or torso injury, use direct pressure with your hands and a trauma dressing until emergency services arrive. You should also avoid using a tourniquet (or use it with caution when necessary) if:- The casualty has a history of blood clots
- The casualty has sickle cell disease
- The casualty is a victim of a crush injury
How to apply a tourniquet

A tourniquet doesn’t require special training to use, but it’s better to know what to do to be prepared in an emergency. If you have access to a tourniquet in your workplace, it’s worth familiarising yourself with how it works.
Whenever you’re administering first aid, it’s important to first ensure you or someone helping you call emergency medical services – keep them on speaker phone so that they can talk you through the process. If possible, you should also wear personal protective equipment like disposable gloves or a protective face mask to avoid exposure to blood.
Step 1: Identify the source of the bleeding
Look where most of the blood is pooling and try to follow the trail to the source. If possible, have the casualty lie down as this will make it easier to find the source. If the casualty is conscious and the source of the bleeding is difficult to find, ask them where they feel the most pain.Step 2: Apply pressure to the wound
Once you’ve located the source of the bleeding, apply direct pressure to the wound with your hands and a trauma dressing. If this doesn’t slow or stop the bleeding after 15 minutes, you will need to use a tourniquet or fashion a makeshift one.If the casualty is conscious, make sure you inform them of your intentions – they should be aware that the process will be extremely painful, but it’s done to save their life.
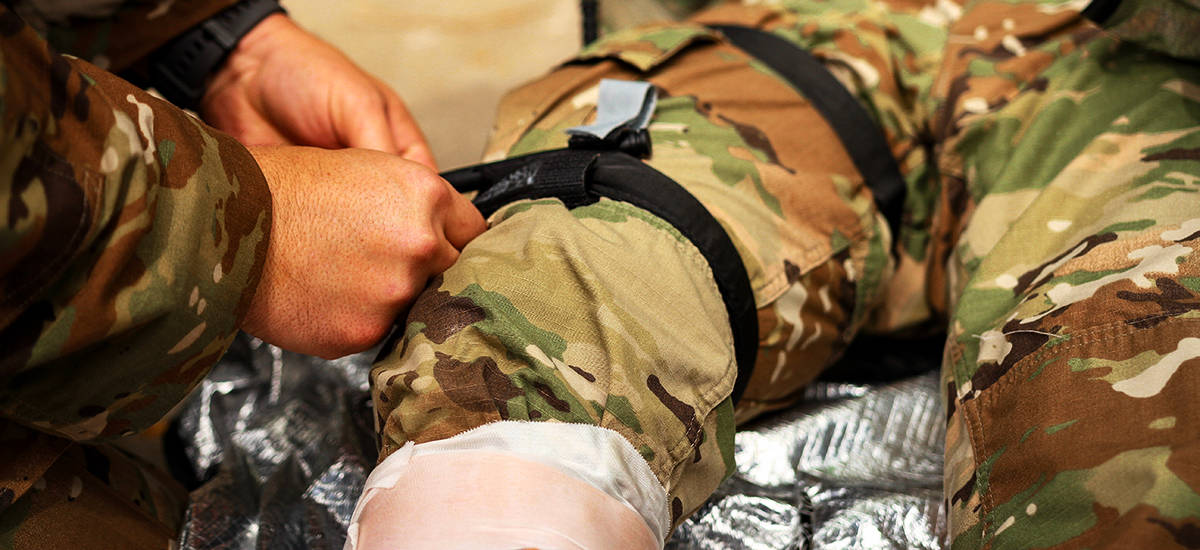
Step 3: Put the tourniquet in place
Remove any clothing around the wound so that the tourniquet can be applied directly to the casualty’s skin. Place the tourniquet 5 to 8 centimetres above the source of bleeding, between the injury and the casualty’s heart. Avoid placing the tourniquet directly on a joint, as this can cause permanent damage to the nerves or blood vessels.Step 4: Tighten the tourniquet
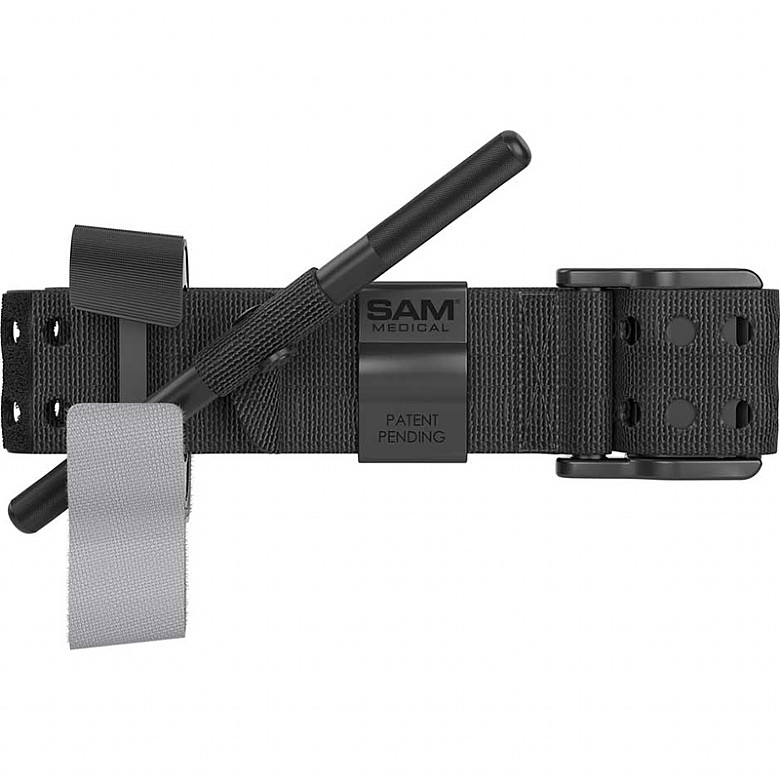
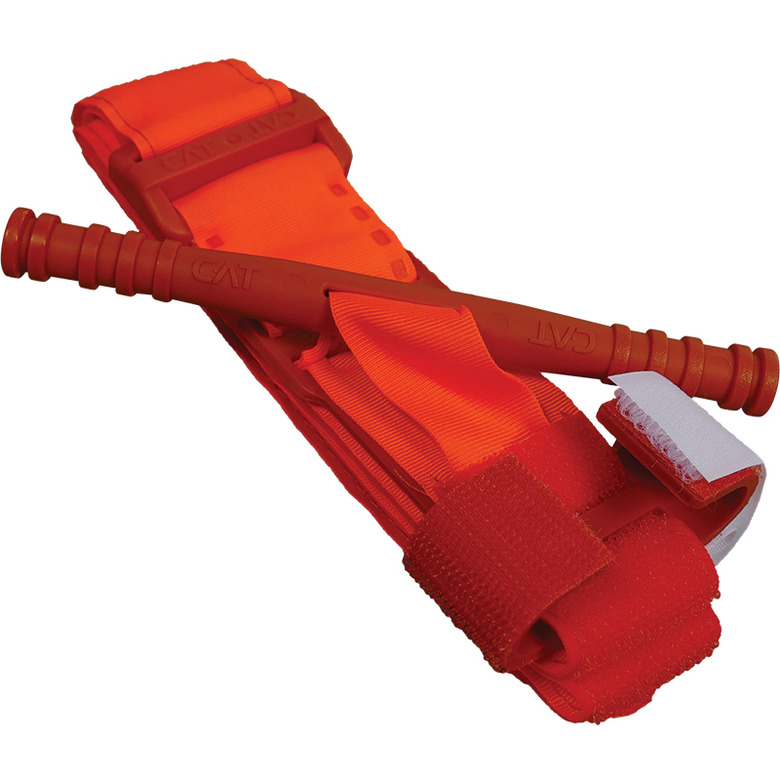
If the casualty is conscious, warn them that the next step will be very painful.Clip the tourniquet closed tightly around the limb, then pull the strapping to tighten it as much as possible. Once the strapping is pulled tightly, twist the windlass to further restrict the limb’s blood flow. Continue twisting until the bleeding has stopped or slowed significantly.
Use the windlass clip to secure the windless, ensuring it does not unwind.
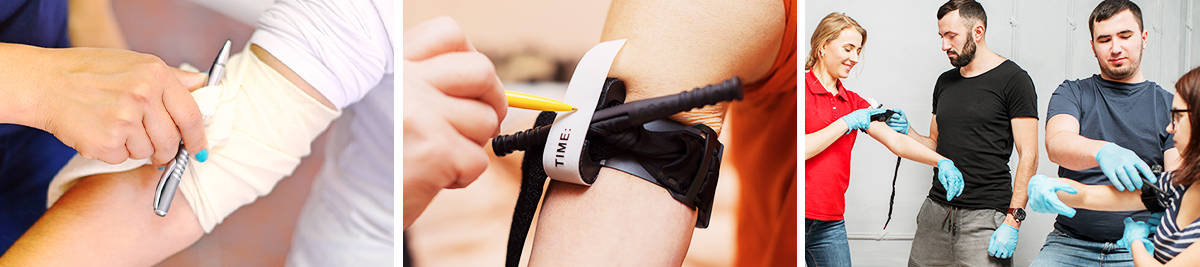
Step 5: Note the Time
Note the time by writing it clearly on the tourniquet itself, or on a notepad or your phone. If possible, use a timer to keep track of how long the tourniquet has been on for.Continue to monitor the casualty until emergency services arrive, then inform them of how long the tourniquet has been in place.
Never remove a tourniquet once it’s been secured. Only emergency medical services should ever remove a tourniquet.
How long can you leave a tourniquet on?
A tourniquet should never be applied for longer than two hours. If a tourniquet is left in place for longer than this, it can permanently damage the nerves, muscles and blood vessels.Read our other blogs for more information on first aid or contact us for further advice and information on our products.
About the author:
Jo Stokes is a writer, marketer and trained first aider at First Aid Online.
Find out more about Jo.
By Jo Stokes