 Why your first aid kit should include tweezers
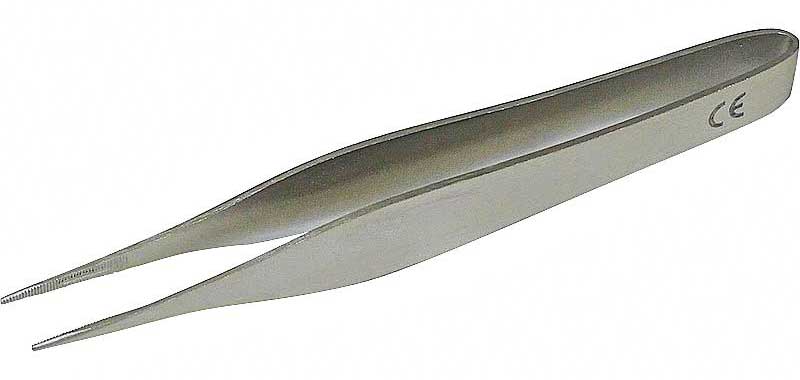
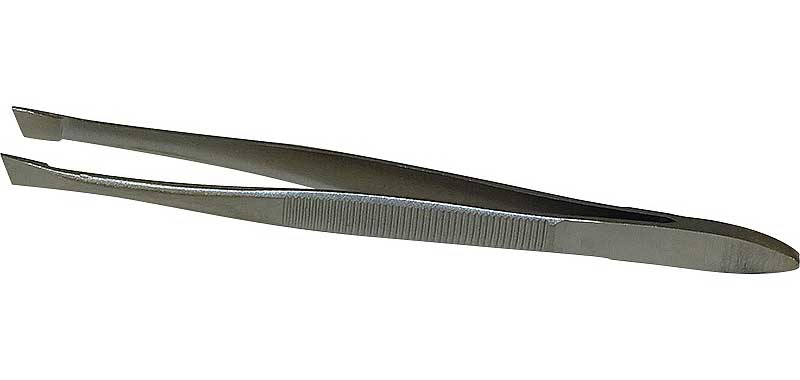
Tweezers are a handy tool to have in your first aid kit because they are able to pull out foreign bodies with precision, so that you can avoid infection or any further damage.They can be used in numerous scenarios to remove things such as hair, glass and wood from an open wound that you wouldn’t normally be able to retrieve, which if left could cause infection, as well as removing things like bee stings and ticks that can slowly exude poison into the bloodstream.
Tweezers provide a smooth removal of whatever it is that is embedded in your skin with less risk of further injury.
Types of tweezers
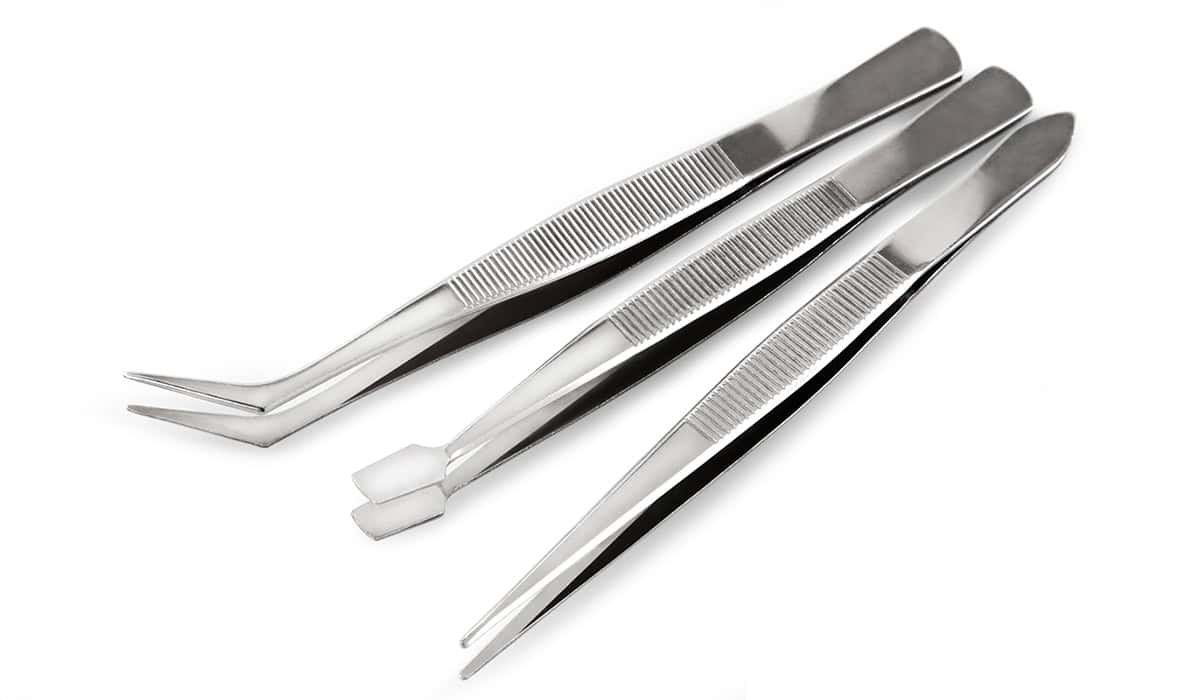
There are different types of tweezers that are suitable for different jobs. Both plastic and stainless steel tweezers have pros and cons to when and how they should be used.Plastic tweezers
Plastic tweezers are generally for single use when being used for first aid. They are seen more as disposable tweezers so that there is a limited chance of cross contamination.When buying tweezers from this material they also tend to be more affordable, although you would have to buy new ones each time you used them. Also, plastic tweezers tend to be lighter for carrying around.
Stainless steel tweezers
Stainless steel tweezers are very easy to maintain, due to their resistance to rust and how simple it is to clean them. They are viewed as being hypoallergenic and more reliable than plastic tweezers as they have the potential to last a lot longer.Uses of tweezers in first aid
Splinter removal
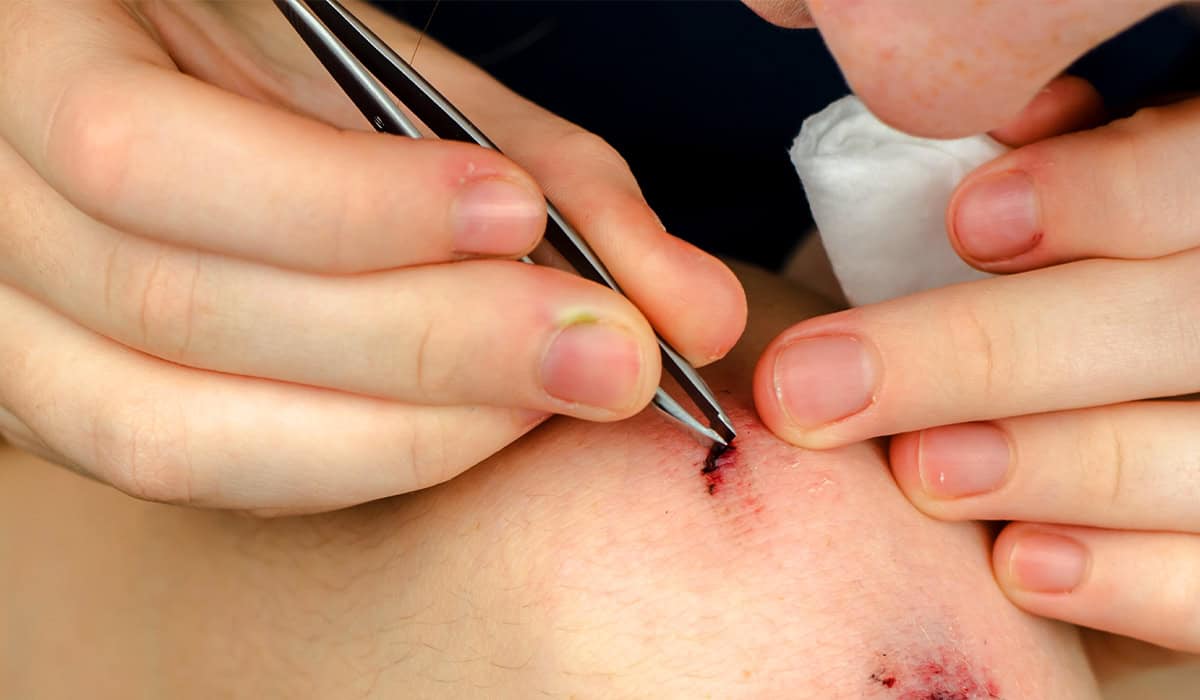
The majority of tweezers will be suitable for use when removing a splinter, after all it is one of their most common uses in first aid.
How to remove a splinter
- Carefully clean the area then pat it dry, trying not to disturb the splinter.
- Gently pull the splinter out using clean tweezers. Try to grip the splinter as close to the skin as possible and pull it out at the same angle it went in at for the best results.
- Squeeze the wound slightly to encourage a little bit of bleeding before washing the area again and covering it up.
Tick removal
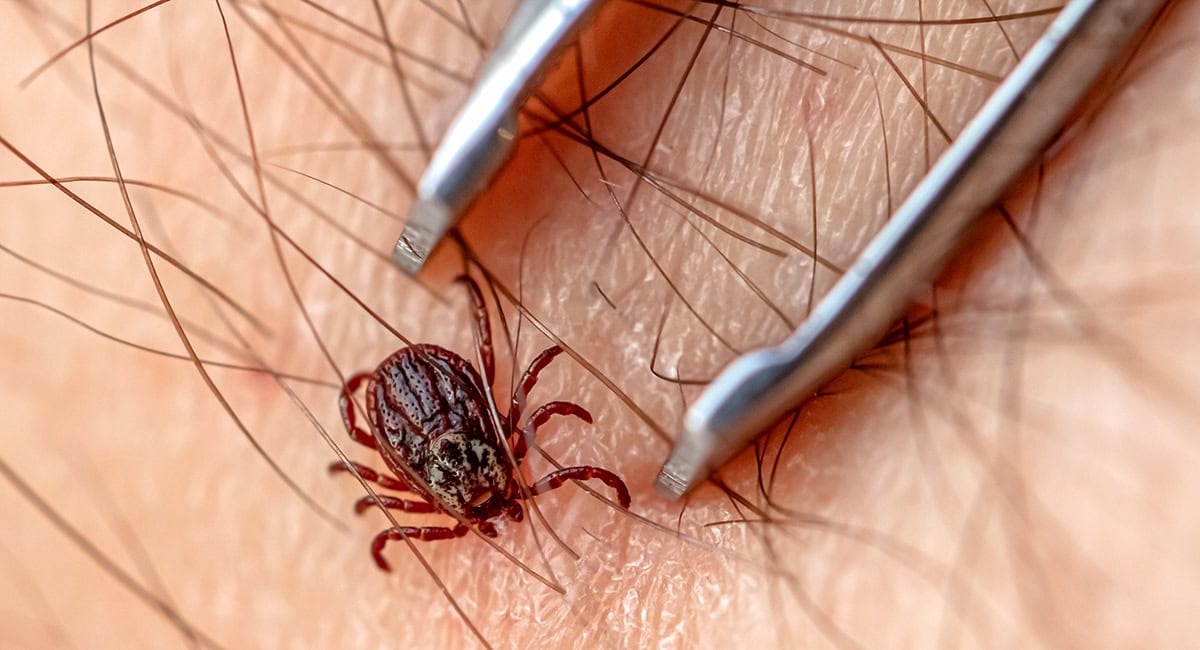
Removing a tick requires precision with a delicate touch as there is always the chance that the tick could otherwise remain embedded in your skin.
Ticks are small insects that tend to hide in areas that are full of tall grass, like woodlands or uncut fields. They feed on the blood of humans and other animals once they have attached themselves, which can lead to Lyme disease.
They can be removed using tweezers, especially sharp, thin tipped ones or specially made tools, like the HypaGuard Tick Remover.
How to remove a tick
- Grasp the tick with the tweezers as close to the skin as possible.
- Gently pull the tick upwards, being careful not to squeeze its body or pull too harshly.
- Ensure that all of the tick has been removed (they have teeth specially designed to not let go).
- Clean the bite either with antiseptic or warm, soapy water.
Glass shard removal
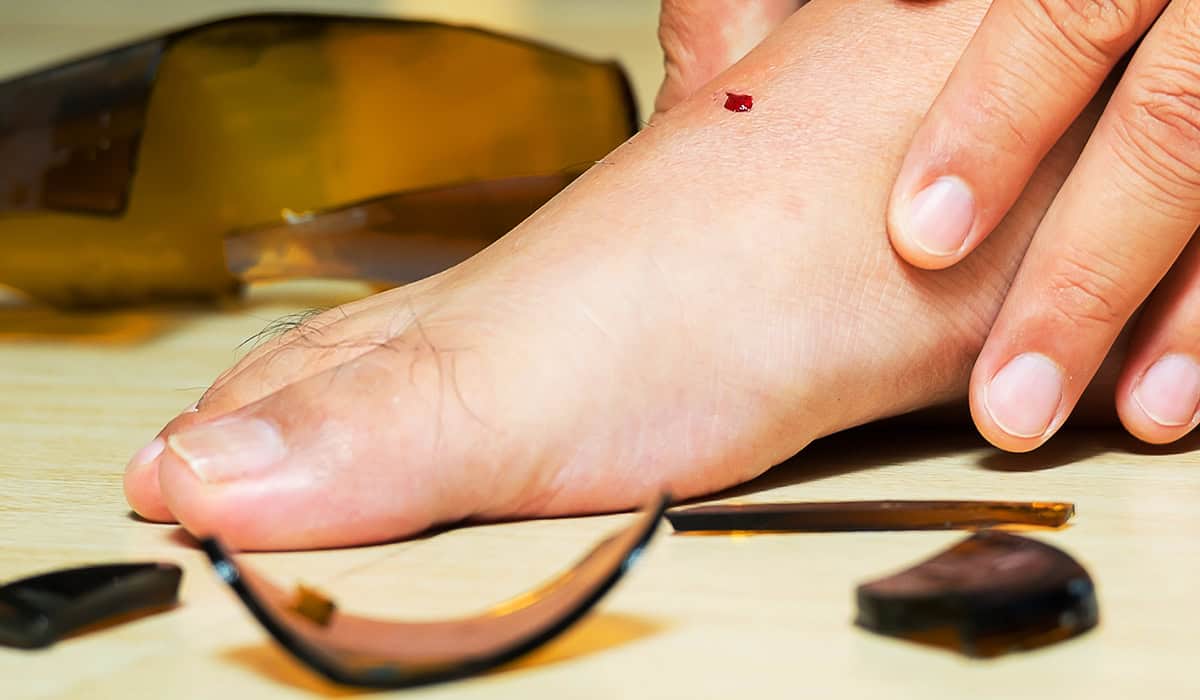
It is important to remove glass shards and other forms of debris from your cuts as quickly as possible, because not only is it uncomfortable, but it can also lead to the wound becoming infected if it is left for too long.
Please note, before removing a glass shard, take note of how long it is and if it is being used to stem the bleeding. It could make matters worse if you were to remove a shard that is preventing the person from bleeding too heavily.
How to remove a glass shard
- Clean the area with antiseptic or warm, soapy water.
- Inspect the wound. How deep does it go? Can you see the shard properly? If you can’t see the glass shard soak the injury in warm salty water for a few minutes.
- Grasp the glass as close to the skin as possible.
- Gently pull the shard out.
- Rinse the wound again and cover it up to prevent infection.
Insect Sting Removal
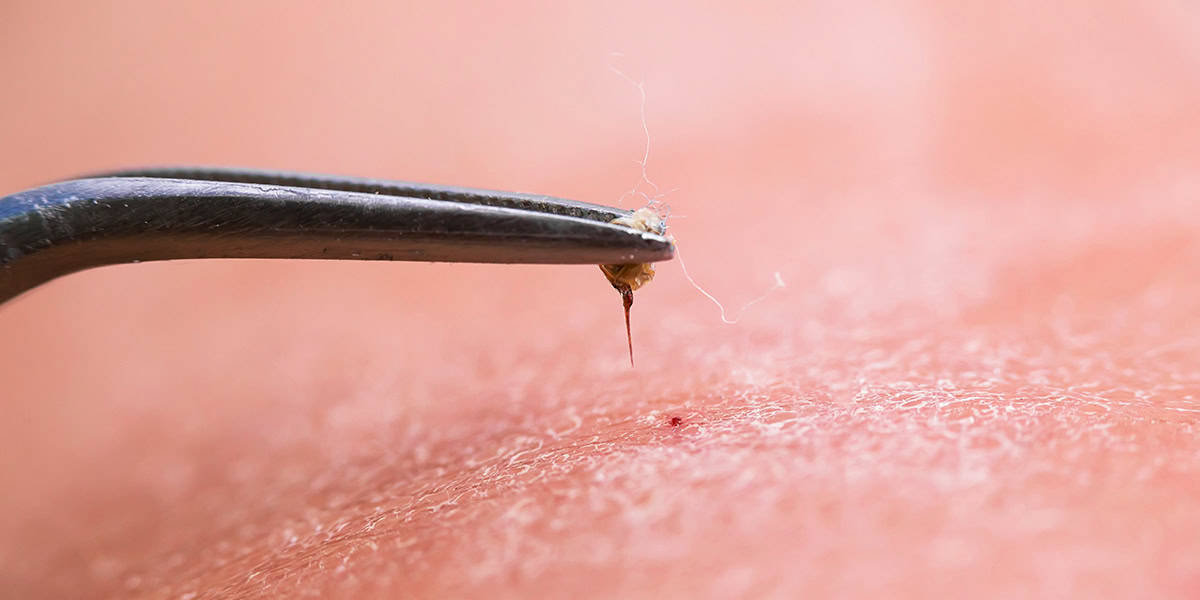 Insect stings, generally from bees and wasps, can be painful and cause your skin to swell up. Bees will also leave their stinger in you every time, while for wasps and hornets they will just fly off.
When you are stung by an insect, they are injecting you with some of their venom. This is what causes the area to become inflamed and rather painful. It is important that the stinger is removed because the longer it is embedded in your skin the more venom is being pushed into your body.
Be careful not to exert too much pressure on the sting as it’s being pulled out because not only will you run the risk of it snapping, but it can trigger more venom to be released. Also, if the sting is visible carefully scrape it off with the edge of a credit card or something similar instead of using the tweezers.
How to remove an insect sting
- Clean the area around the sting.
- Grasp the stinger gently but firmly as close to where it is poking out of the skin as possible.
- Gently pull it out, trying not to squeeze too tightly or more venom could be released.
- Clean the area around the wound.
- Elevate the injury if possible and apply an ice pack for ten minutes. If the sting was in the mouth suck on an ice cube or sip cold water.
- Keep an eye out for an allergic reaction and if this happens seek emergency assistance.
Which first aid kits should include tweezers?
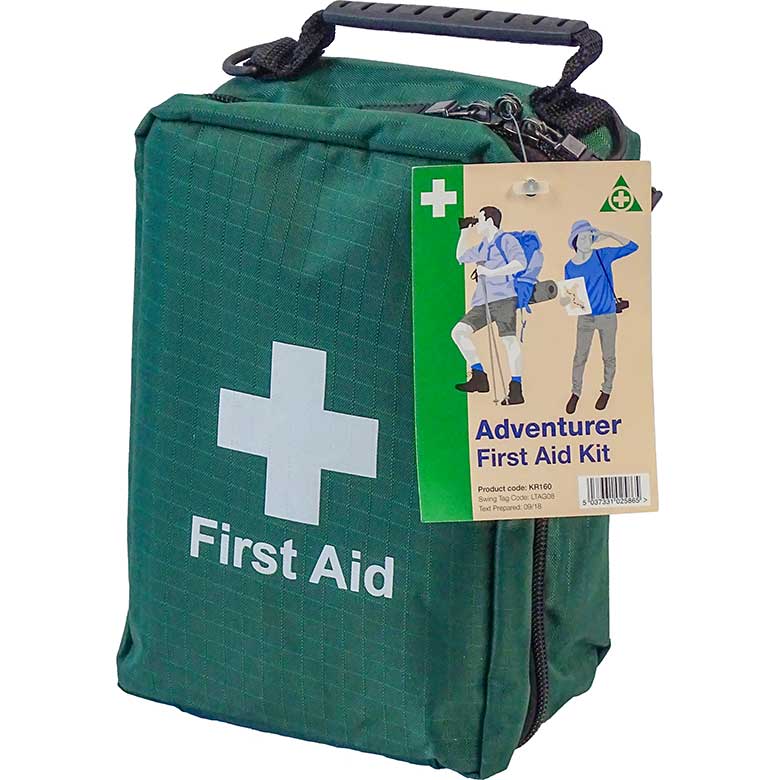 Tweezers are a good addition to your first aid when you are travelling or spending a lot of time outdoors. Especially if you are going to be in wooded areas with tall grass as you are more likely to get splinters or come into contact with ticks.
An adventurer’s first aid kit would definitely need to include a pair of tick tweezers.
Read our other blogs for more information on first aid or contact us for further advice and information on our products.
By Sarah Mason


